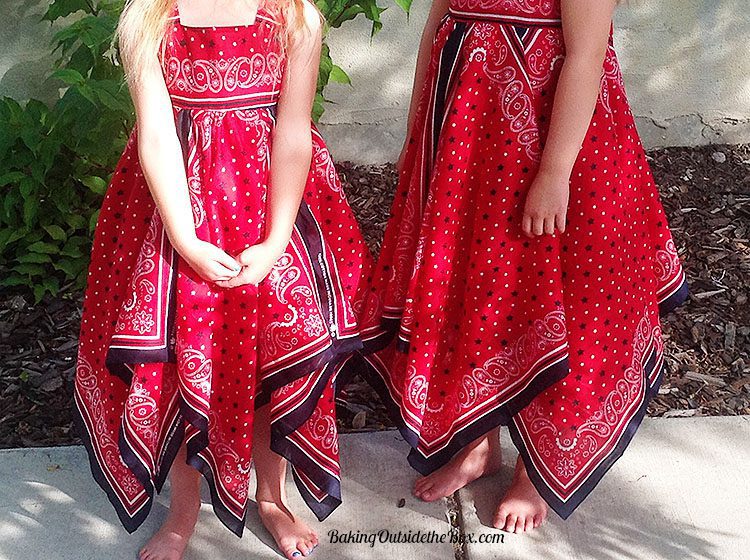
Bandana Dress Pattern Transformation? I had a wonderful, glorious and insane idea: sundresses made with bandanas. The phrase ‘Bandana Dress’ sounds so retro and fun. When they were finished the little girls adored them so much they didn’t want to ever take them off.
I learned how to flat pattern draft when I was teen-ager and have made many designs of my own or adapted a good many mass-produced patterns to my needs over the years. This adaptation took a bit of ‘out-of-the-box’ creativity. –A true challenge. The dresses were fantastic once I figured out how to get what I saw in my head onto a pattern and sewn up.
I am giving you my instructions and tips today so that if you choose to make these cute and truly fun dresses that you will find it much easier than I did!
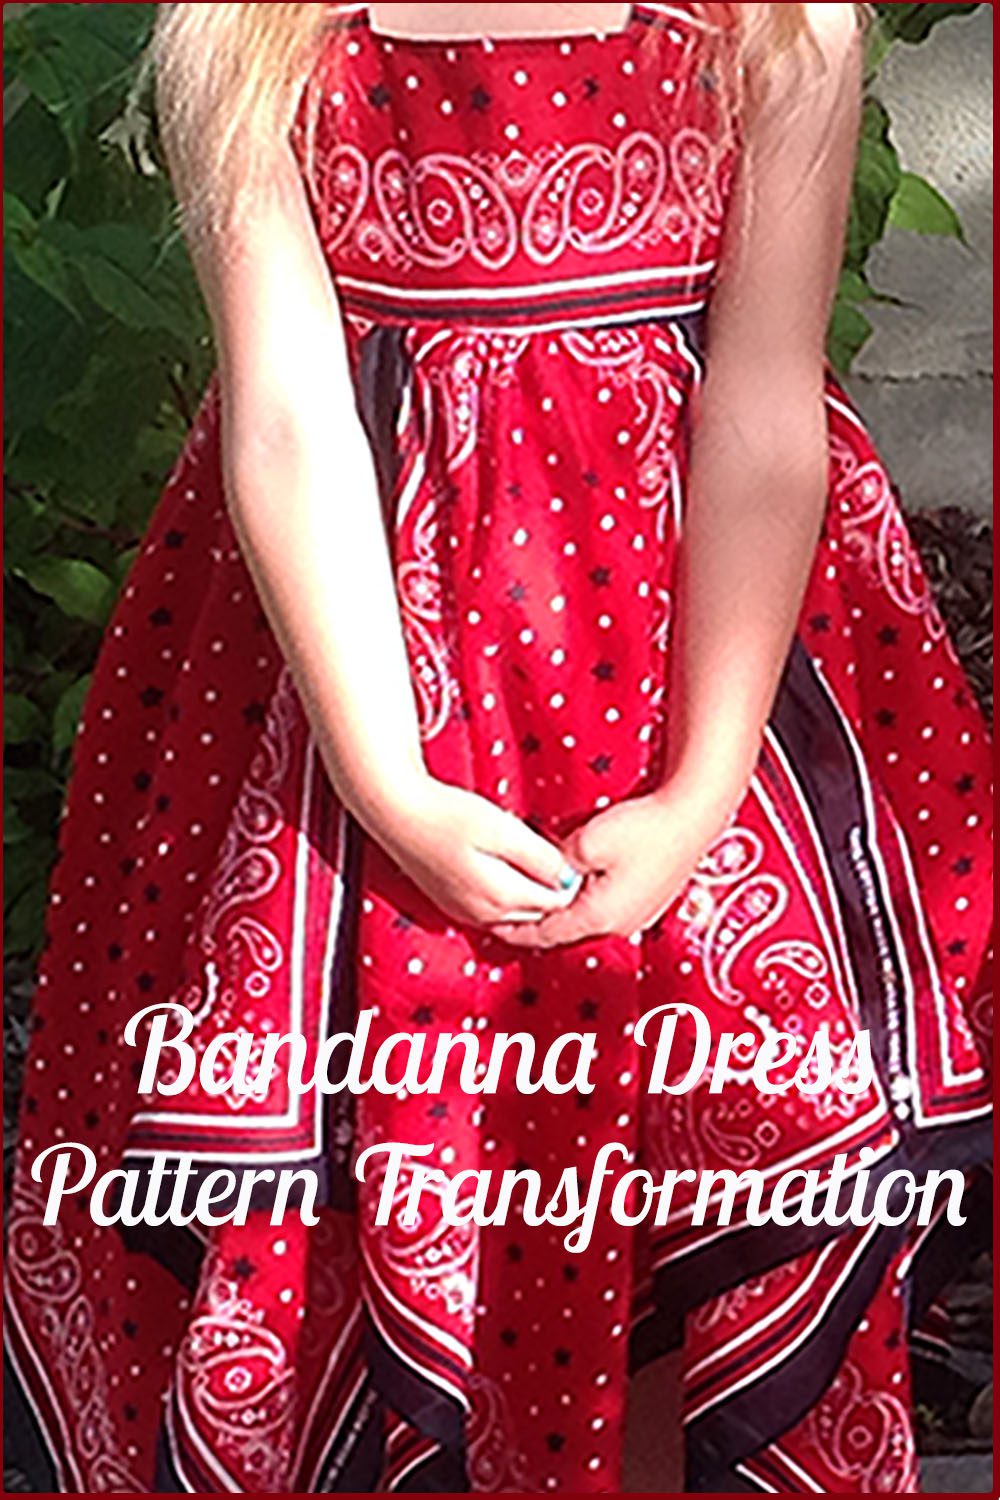
I imagined the skirt of the dress with the points of the bandanas making up a varied-length hemline. This was the crazy part because I wanted to make certain the high part of the hem wasn’t too short and that the length at the long hem-tip of the skirt wasn’t too long.
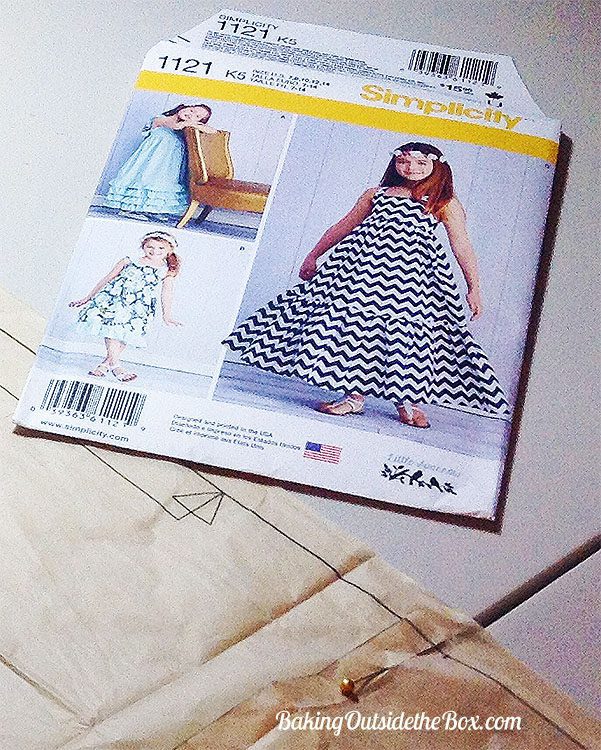
I started with a simple sundress pattern. Simplicity pattern #1121. (There’s a I love. It’s the mid-summer 1.99 pattern sale at Jo-ann’s!) I used the bodice part of the pattern just as it came. I used the long skirt pattern with the wide ruffle pinned to it as a guideline for the length of the bandana skirt and to help figure out what size triangle I would cut off the top. (You can just use my measurements below if you wish, but I always recommend measuring for yourself!) This pattern was the perfect candidate to use for all the changes I wanted to make to the skirt.
So I started out by buying a bouquet of bandana scarves that were 22″ square. All my measurements are based on that size scarf. If you choose scarves of a different size you will have to adjust your measurements accordingly.
Materials:
I got 1 yard of white polycotton for an underskirt.
I also bought the notions suggested on the back of the pattern.
Please Note!: Because of the 22″ size of the scarves I used, the Bandana Dress can be made for girls sizes 3-7. Smaller or larger sizes would require larger or smaller scarves and I don’t have the measurements for other sizes. (Sorry! 🙁 )
Sizes 3-5 need 8 bandanas each. You will need 6 for the skirt, 1 for the bodice and 1 for the crisscross straps.
Sizes 6-7 need 10 bandanas each. 8 for the skirt, 1 for the bodice and 1 for the crisscross straps.
Preparation:
Cut all tags off the scarves.
Iron all creases and wrinkles out the bandannas. Ironing the scarves before cutting and sewing, as well as ironing whenever indicated on the pattern is very important to the outcome of this project. Don’t skimp on the ironing.
Skirt variation:
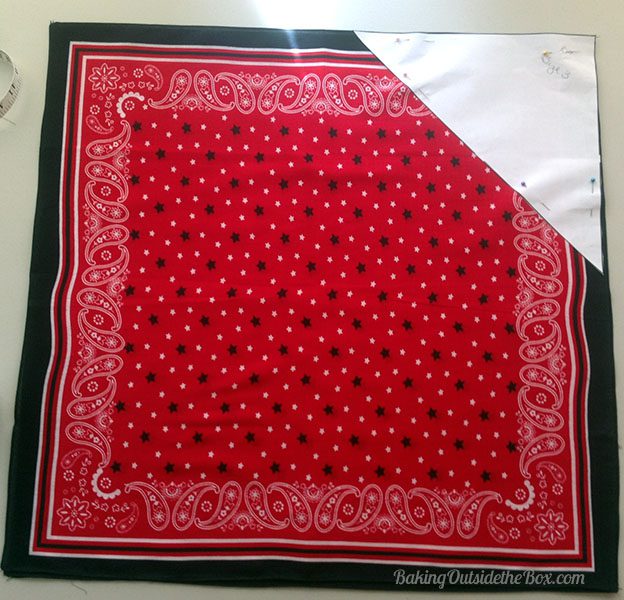
It took me a while but I figured out that I would need to cut off an Isosceles triangle* at the top of each of the skirt bandannas at the high waistline. (This pattern has a high or empire waist.) *You can find examples of what an Isosceles triangle is here: I coach math.
Sizes 3-4: The triangle needed is 10″ on each of the two equal sides.
For sizes 5-6: The triangle should be 7″ on each of the two equal sides.
If size 7: The triangle should be 3″ on each side of the two equal sides.
Lay out and cutting:
Bodice : Lay out the bodice pieces on the bandanna according to the design of the scarf. Be certain that the back will match-up to the design on the front. Cut front bodice lining from the white poly cotton. Cut out and transfer all the marking according to the pattern instructions.
Straps: You will piece the straps. Measure the length and width of the strap pattern. Divide the measurement by two. Using one of the bandannas cut out even pieces using your divided measurement. Choose 2 pieces to be the front and two to be the back. Lay pattern on pieces and transfer the markings to appropriate pieces and snip the front pieces according to the pattern arrow-like shape. (I made mine slightly wider than the pattern knowing that they would bare the weight of the dress.)
Back loop: Cut back loop on a scrap of scarf on the bias as directed.
Lay out over-skirt panels: Above you can see how I laid out the triangle on the scarves. The two equal sides meet at the top corner and the long edge is at the bottom. The long edge is where the skirt will be sown to the bodice. The short edges are where the seams in the skirt will be. (Trust me it will make sense as you start to make it!)
Underskirt all sizes: Cut out 2 pieces of the poly cotton that are 20″ wide, each, by the length of the skirt along the high hem (waist to knee side) minus 1/2″. The 20″ side of each piece will be at the waistline and the side seams will be just a bit shorter than the waist to knee measurement. I zigzagged the edges of side seams which will be 1/4″. I did not sew the side seams until I had sewn the over-skirt seams and then I left a slight gap at the top just to be certain I did not gather in any of the over skirt in to the underskirt side seam. (Trust me this will make sense and no one will ever know!)
Over-skirt construction:
General Instructions:
- Sew the side seams from the bottom (knee to the waist) using narrow, 1/4″ seams.
- The sewn front and back skirt panel will have an uneven zig-zag like waistline.
- Stay stitch at 1/2″ and clip curves close to stitching.
- Sew gathering stitches at 5/8″.
- Stay-stitching and clipping is essential so that the skirt front and back will be easier to pin to the underskirt.
For sizes 3-5 you will use three skirt panels for the front and back. Using three panels, one of the panels will be centered so that there will be a long point center front and center back. Follow the general directions above.
For sizes 6-7 you will use four skirt panels for the front. Using 4 panels, There will be a knee length seam at both center front and back.
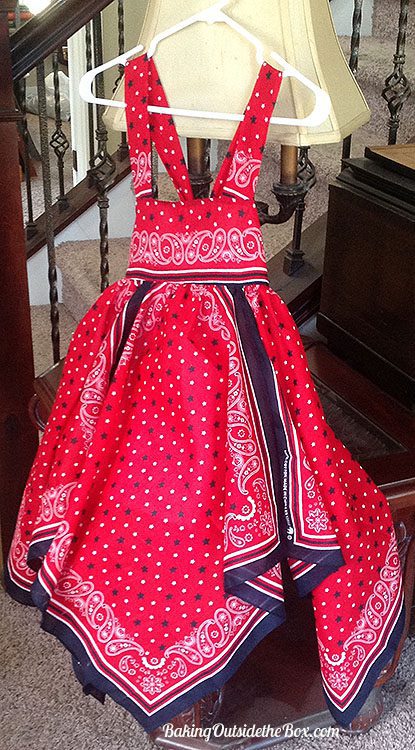
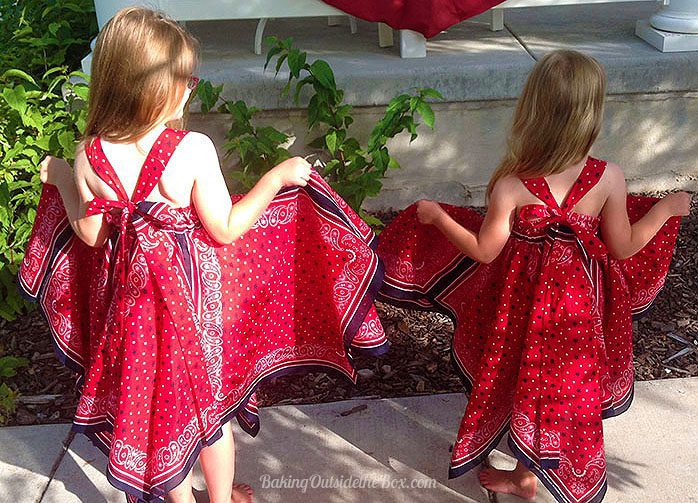
Back View
Underskirt: Finish side seams using zigzag seam and sew and narrowly hem each panel. Fold at center lengthwise and then again. Mark center point and quarters points at waistline.
Lay wrong side of over-skirt to right side of underskirt. Pin and gather over-skirt front (separately) to underskirt, matching over-skirt seams to quarter points and center to the center of the over-skirt. Repeat for the back. Stay stitch over-skirt to underskirt panel over gather stitches. You will have two separate pieces, a front and back as called for in the pattern instructions.
Straps: Sew front and back pieces together using a 1/4″ seam. Sew over first stitching to reinforce. Repeat for second strap.
From this point forward I pretty much followed the Simplicity pattern instructions, with the exception of knowing I would sew the side seams on the over and underskirt’s separately.
Tips:
- Ironing during the process is very important in the success of this design. Don’t skip it or you may not be happy with the result.
- Trim seams and clip curves when called for.
- The size 3 is very full! You will need to be extra careful to keep billowing skirt cloth out of the way when sewing the skirt to the bodice.
- –Actually this is true of all the sizes just really obvious on the smaller sizes.
Could you use a different empire/ high-waisted pattern with sleeves? Yes. Absolutely. You will probably need 2 more bandannas per dress for sleeves and whatever notions like buttons may be needed.
Have fun with this. Write with questions if you have them and please send or Instagram your project pictures using #bakingoutsidethebox. Enjoy! — Laura
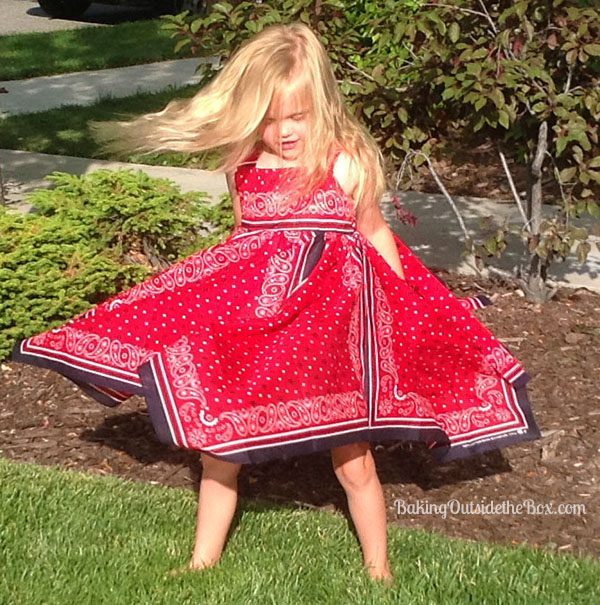
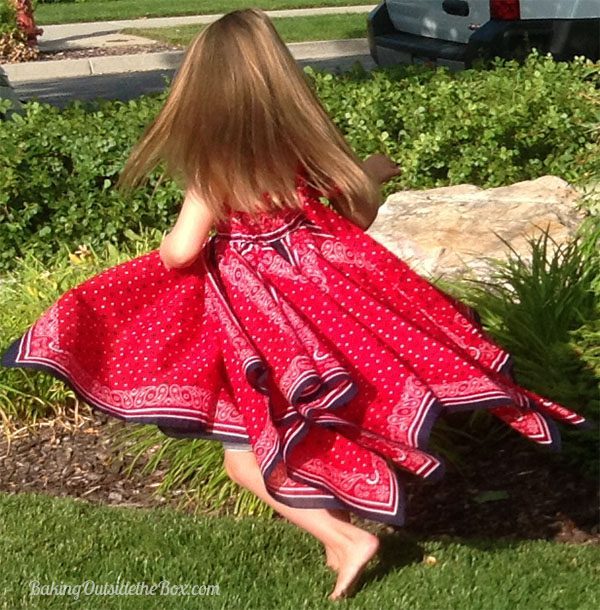
twirl, twirl, twirl!