
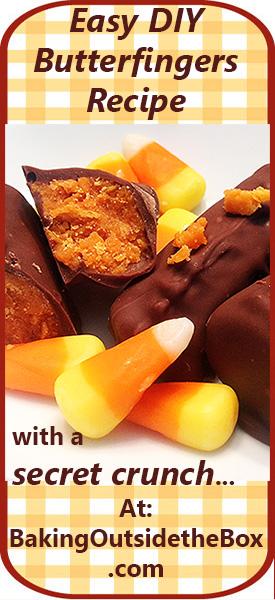
Who imagined You could DIY Butterfinger Bars? Me!
Oh yeah, Butterfinger Bars are my favorite. Downright dangerous, in fact. There will never be enough. The one word to describe them: Scary. Ok, also delicious, crunchy, salty-sweet, mouth satisfying, and out-of-control….well, maybe there are quite few words to describe my favorite candy.
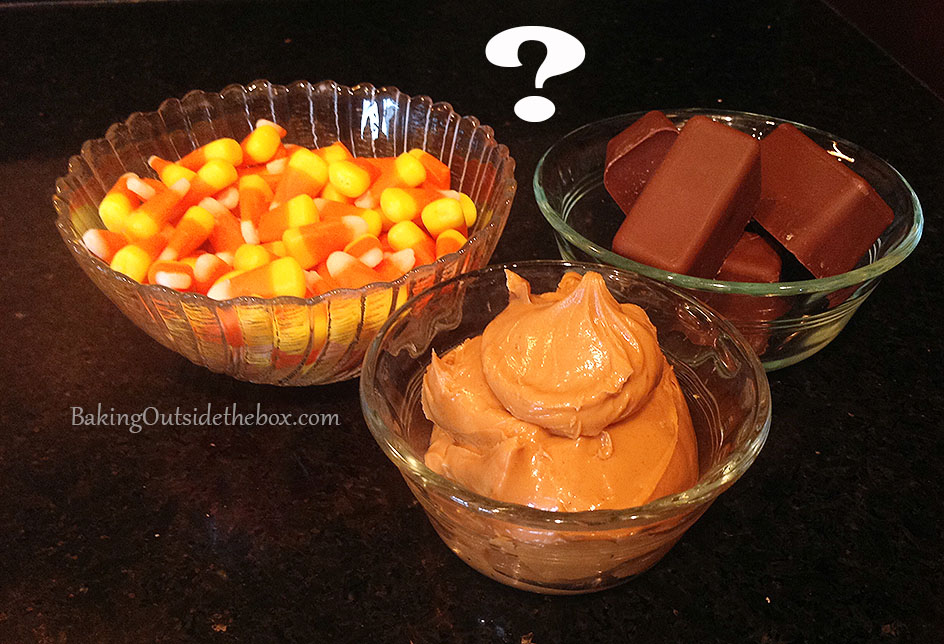
When I saw several pictures for DIY Butterfingers, floating about Pinterest, I got curious and Googled it discovering quite a number of recipes, all of them with the same three ingredients: Candy corn, peanut butter and dipping chocolate. I also found that while everyone said it was good, they thought that the texture wasn’t quite what they hoped for. It lacked crunch.
So I made a smallish batch and found the reviews to be quite accurate; not enough crunch and truthfully not near enough salty tang. hmmm…Then I found a post where a clever person was dipping cheese crackers smeared with peanut butter in chocolate. hmmmm…..
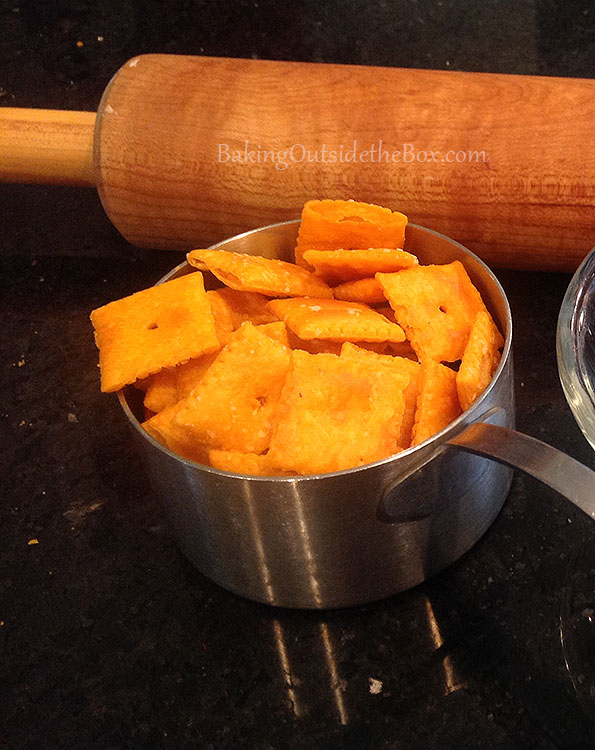
Yup, Cheez-Its crackers. Crazy right? But they added what nothing else did.

I experimented a bit and revamped the recipe and added some coarsely crushed Cheez-Its. The result was bliss….ah sigh… Salty-sweet, satisfying crunch at last.
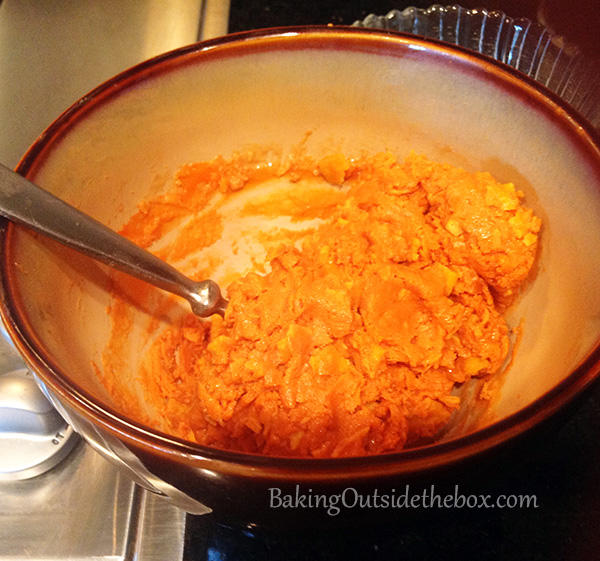
I melted and stirred up the ingredients. (This only takes about 5 minutes.)
I discovered that the suggestion to freeze them for a few minutes before cutting them was very important to the overall final texture.
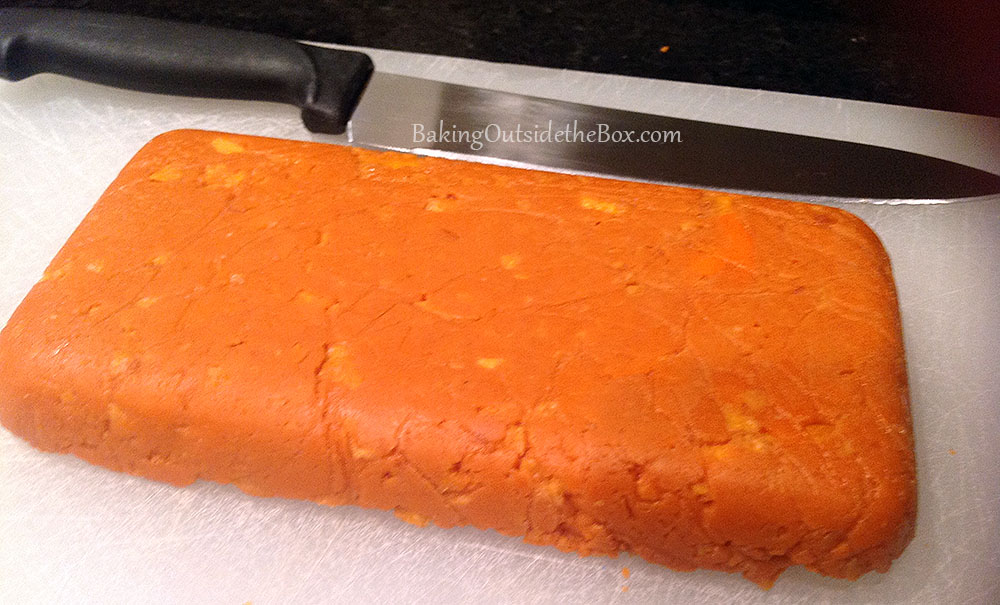
Remove from the freezer and lay your candy loaf on a cutting board.
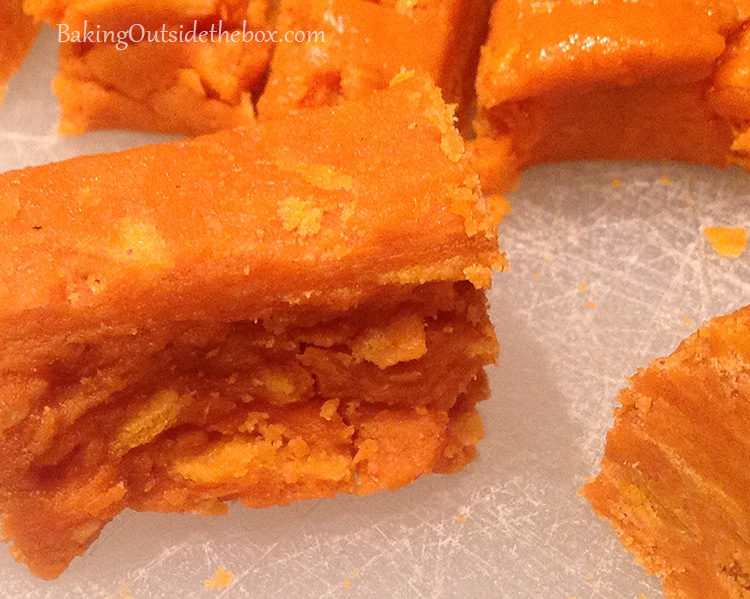
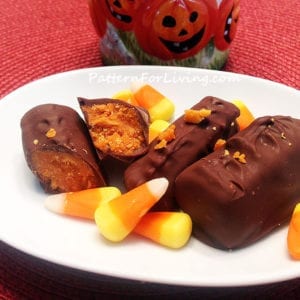
Chop into bars or bites and freeze solid before dipping. Look at the crumbly goodness!!! (Yet they held together well throughout the process.)
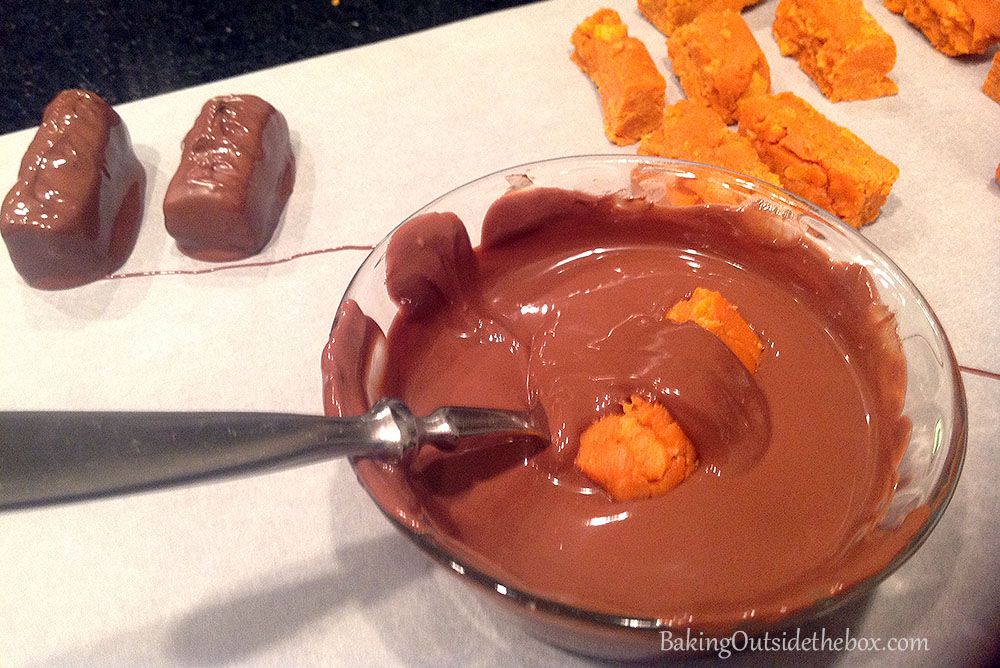
Here I am dipping the frozen ‘fingers’. I used one fork to dip and a second clean fork to transfer to the paper, to keep the chocolate from puddling around the base.

I think you’ll find that the texture of this candy is more dense, but with a satisfying crunch and yet irresistible like the original. In fact, they are so good it’s, you-guessed-it; SCARY. You just might find yourself stashing away a few extra bags of candy corn for the year ahead. The ‘fingers’ didn’t last long enough at our house to even to even take a few to neighbors. ( I was lucky I got to take pictures!) According to my husband and son I will have to make more immediately.
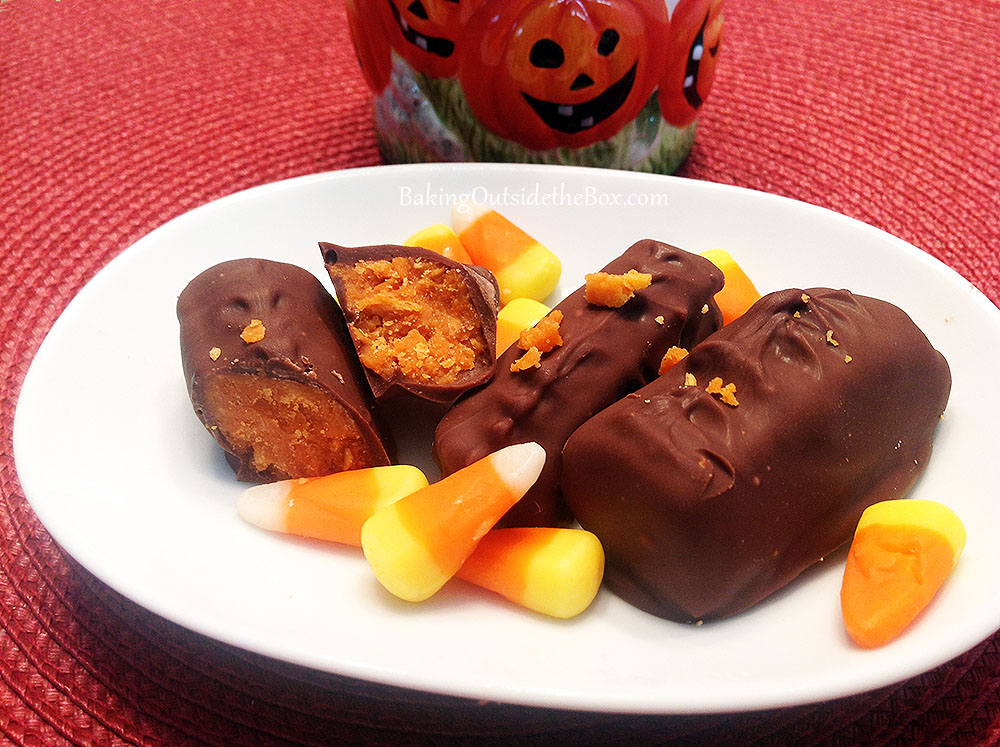
So go ahead and enjoy them….if you dare.
If you like chocolate and peanut butter together you might also enjoy this recipe: Buckeye Candy
DIY Butterfinger Bar Recipe
DIY Butterfinger Bar Recipe
Ingredients
- 1 ½ cups candy corn
- ¾ cup creamy peanut butter
- 1 cup Cheez-It crackers
- 6-8 oz . dipping chocolate
Instructions
- Prepare a loaf pan by lining it with plastic wrap or wax paper.
- Coarsely crush Chez-It crackers in small plastic bag or between sheets of wax paper.
- Warm peanut butter in microwavable bowl for about 20 seconds, until melted, but not bubbling. Set aside.
- Pour candy corn into small microwavable mixing bowl and heat for 30 seconds. Heat at 10 second intervals until the candy does the following: Some of the candy should begin to bubble up, but do not allow it to completely melt. It may become too hard to stir in the other ingredients! Use caution; mixture will be very hot.
- Working quickly. Remove from microwave and stir. The rest of the candy corn should melt as it is stirred. Pour in the warm peanut butter and cracker crumbs and stir to combine.
- Pour warm mixture into lined loaf pan and press into bottom of pan evenly with the back of a large spoon.
- Place in freezer for 15-20 minutes until it has cooled just enough to hold its shape when cut.
- Remove candy from pan and place on cutting board. Discard pan lining; wax paper or plastic.
- Using a long, sharp knife, chop candy into desired sizes: 10 bars or 20 fingers or 40 bites, as you wish.
- Put candy in a large bag or sealed container and return candy to freezer for at least 30 minutes to firm up before dipping. (Candy may be stored this way for several weeks, if needed.)
- Gently melt dipping chocolate according to package directions. Dip and cover frozen bars in chocolate and place on wax or parchment paper until they are set and ready to serve.
Pingback: Foodie Friday: Homemade Butterfingers. ♥ Fleece Fun