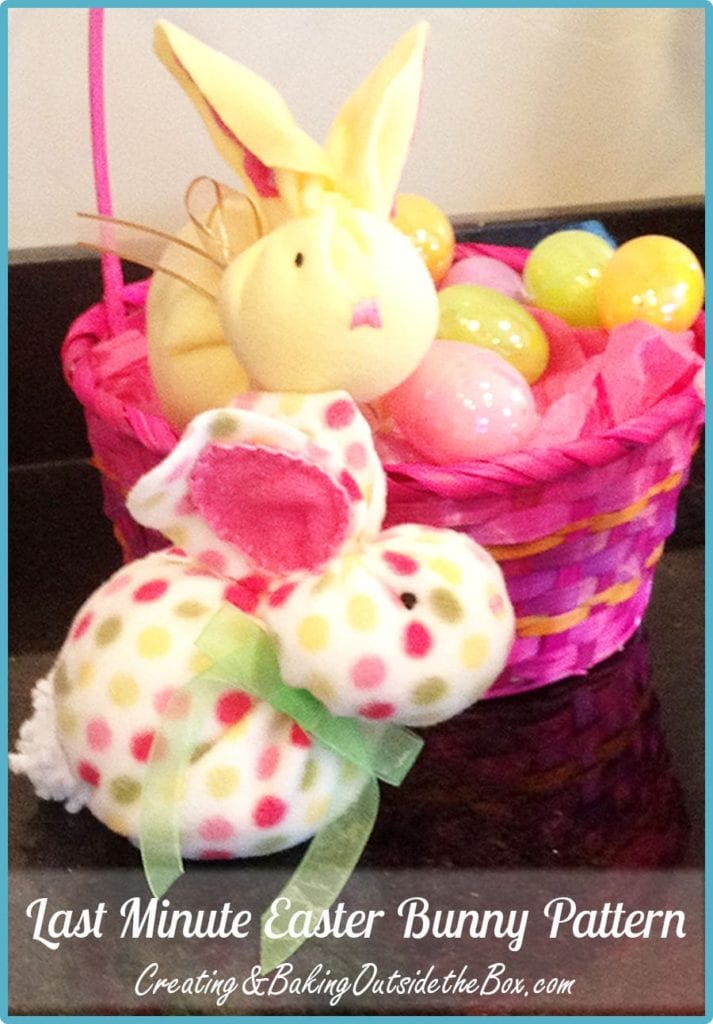
Last Minute Easter Bunny
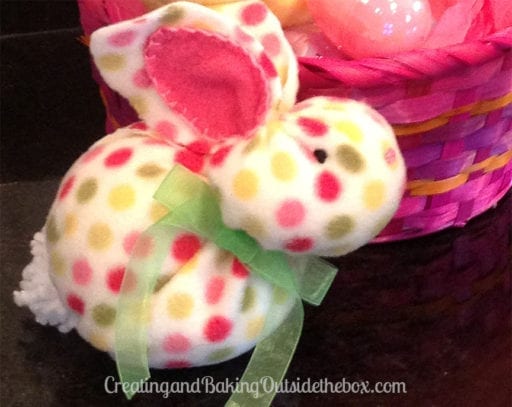
Here is a sweet little Last Minute Easter Bunny pattern that whips up quickly and he’s just the right size for tiny hands. I am sharing the pattern that I’ve developed with you .
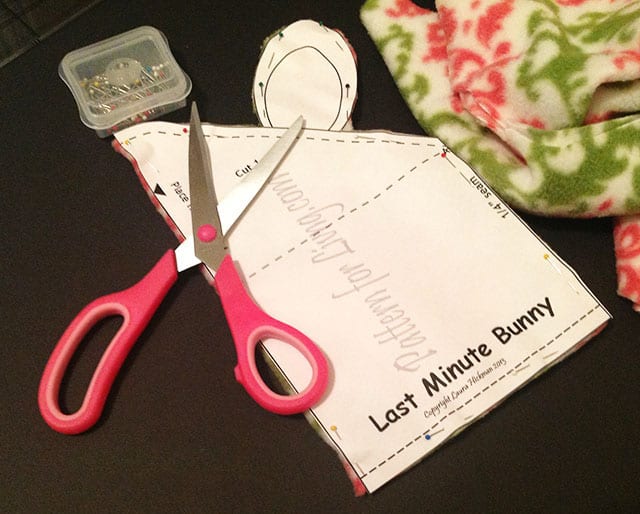
To get started, I needed a bit of fleece to make the stuffed bunny pattern up. I love sewing and crafting and I couldn’t stop thinking about this after I imagined it, until I’d made one!
Working with fleece as a medium is rewarding. It is such a lovely texture and sooo forgiving. It doesn’t ravel and is easy to wash. (And undo stitches, when needed 😛 )
My daughter, Angel Peterson of FleeceFun.com, invited me over to ‘shop’ her remnants stash. I carried away quite a bundle and I now have enough to make some other ‘Precious Little’ projects too.
The Last Minute Bunny needs only a 12 inch square of cloth and a small scrap for the ear linings.
It took me just under an hour to make this little bunny. He was stitched entirely by hand, using six strands of embroidery floss and a long needle — no machine. I’m sure it would go faster if things like the basting stitches were done on the machine.
However there is something enchanting in an item that comes together under the gentle pressure of a hand needle slipping through the cloth. I also feel that the heavy embroidery threads make the little stuffed bunny more durable.
Easy Fleece Bunny Instructions
Items List:
Pattern for body & ear lining (Download the Last Minute Bunny Pattern PDF here. )
12″ square of fleece or felt
3″x 6” rectangle of pink cloth (fleece or felt ) for ear linings ( or 2 3 x 3) pieces.
4”x 6” rectangle of cloth for bean bag
A few tablespoons plastic pellets or rice
2″ Pompom for tail
Embroidery floss:
- Pink, for ear lining and nose
- Black for eyes
- Color matching main body
Polyester fiberfill for stuffing
Disappearing cloth marking pen (optional)
Embroidery needle
18” Ribbon for neck bow (optional)
Instructions
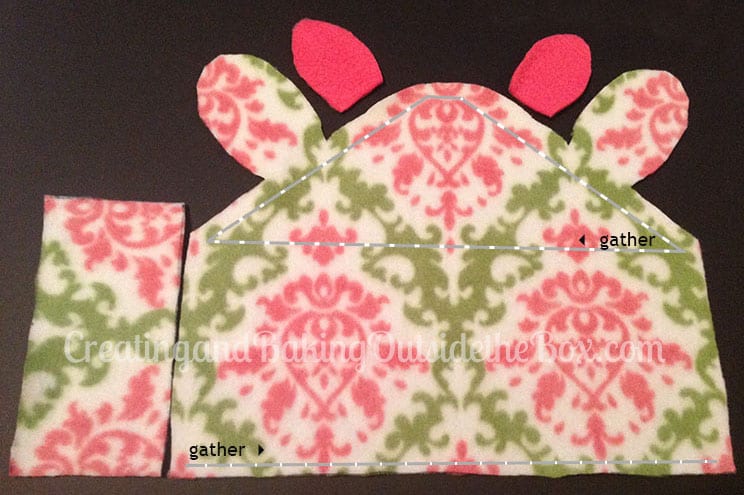
- Fold 12″ square in half and place and pin pattern on it, putting long edge on fold as shown on pattern. Cut 1.
2. Using cloth pen, mark sewing lines as shown on pattern, on wrong side of cloth.
3. Fold 3 x 6 rectangle of ear lining in half and pin ear lining pattern to it. Cut 2.
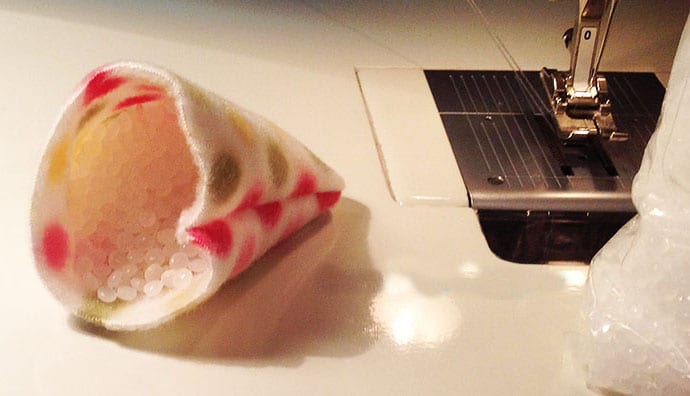
4.Fold 4 x 6 piece of cloth in half and sew using 1/4″ seam by hand or on machine, leaving one end open. Pour enough plastic pellets or rice into bag to fill it 2/3 -3/4 full, see picture. Sew up open edge of bag. Set aside.
(Note: Rice could be used in weighted bag, but bunny will not be washable!)
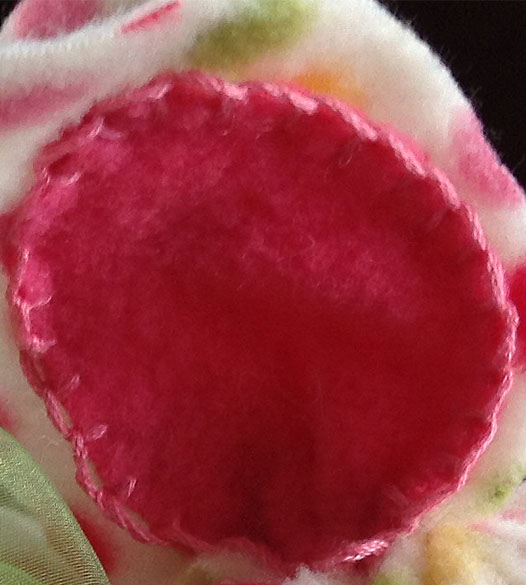
5. Pin ear lining pieces onto right side of ears as shown on pattern. Sew lining to ears with pink floss (all 6 threads) using a running stitch or blanket stitch about 1/8 ” from edge of pink linings, as shown in picture. Alternately, sew on machine.
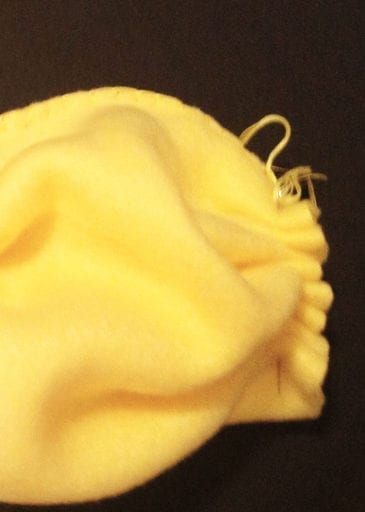
6. Thread needle with a length of floss that is 40” long of the main body color. (Do not double thread; leave a tail as though embroidering.) Starting at ‘A’ on pattern sew a basting stitch around head area as indicated on pattern.
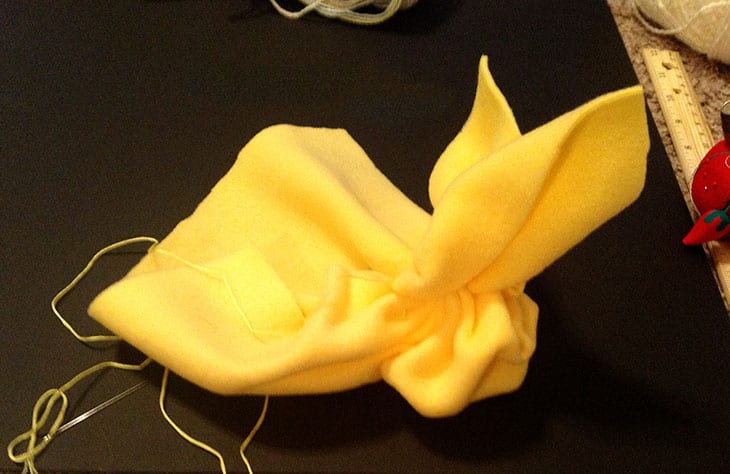
7. Pull up stitching evenly, but loosely to make pocket. This pocket is the head. Stuff head with fiber fill and pull up stitches tightly, leaving a small space between the ears for later. Make knot in thread, but do not cut.
8. Continuing on with same thread, slip needle under neck and close up back using blanket stitch (1/8 – 1/4″ seam). Alternately, tie off floss and turn wrong side out, sewing on machine.
9. 1/4″ from bunny body base, baste around completely and stuff body.
10. Place bean bag in bottom. Pull up stitching evenly and tightly and tie off. Trim thread.
11. Stitch pompom to cover body closure.
12. Use picture as a placement guide for eyes. Using black floss, slip needle in through small opening between ears and make French knots for the first eye, wrapping needle 6-8 times.
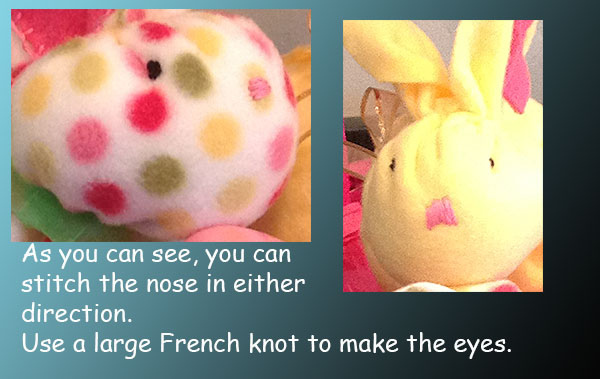
13. Slip needle straight through to make second french knot for eye and then slip needle back through opening, knot securely and tuck in knot tail under cloth.
14. Stitch nose using pink floss, using picture as guide for placement. Stitch about 4 times either vertical or horizontal as pictured to make nose. Finish off by tucking knot under nose, trim thread.
15. With main body color thread, slip needle between ears making 2-4 catch stitches to close head opening.
16. Finish of by knotting thread and pushing needle between ears and through side of head. Clip thread close to head and tug cloth
Gently till thread disappears inside bunny.