This content may contain affiliate links or sponsored elements, read our full ad Disclosure Policy.

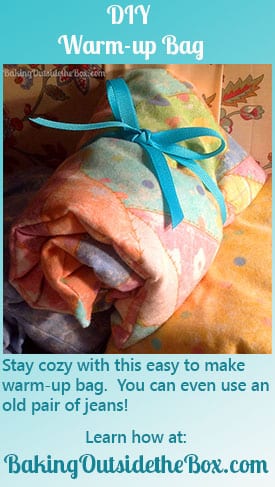
Cozying up with a warm up bag and a good book is one of my favorite winter activities.
Last week, the winter sniffles made the rounds at our house. (I could say we were ‘under the weather’ but I object to the phrase because one does not say ‘over the weather’ for the inverse….I wonder about the etymology of some words and phrases. 🙂 )
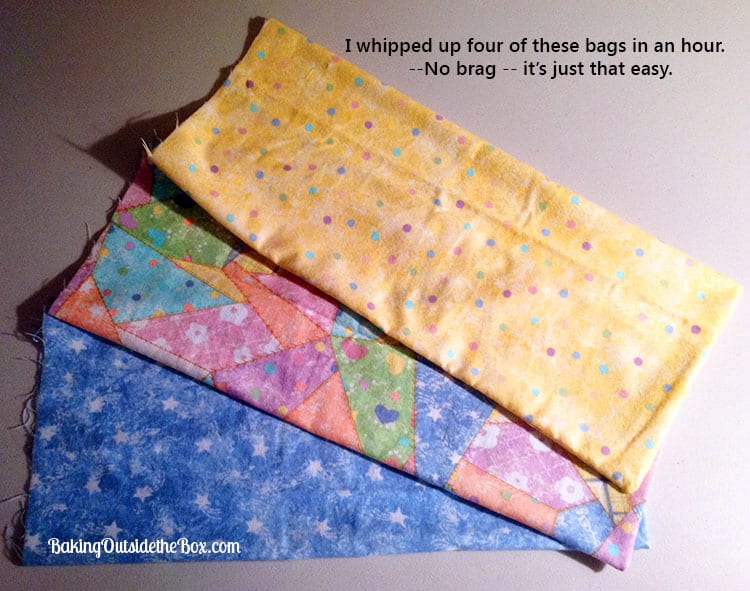
 Everyone wanted to claim the one very ugly and over-used warm up bag we possessed. Dr. Mom (me) dove into my little stash of cotton flannel and made 4 comforting warm up bags in about an hour. I had everything I needed to fill them in my pantry. (You probably have the main thing used to fill a bag in your cupboard right now.)
 Then I put each bag in the microwave for 1 1/2 minutes and ooooooh, aaaawwwweee, foot warming comfort. See the tutorial to learn just how easy it is to make your own warm-up bag. Enjoy.
Warm-up Bag Tutorial

Materials Needed:
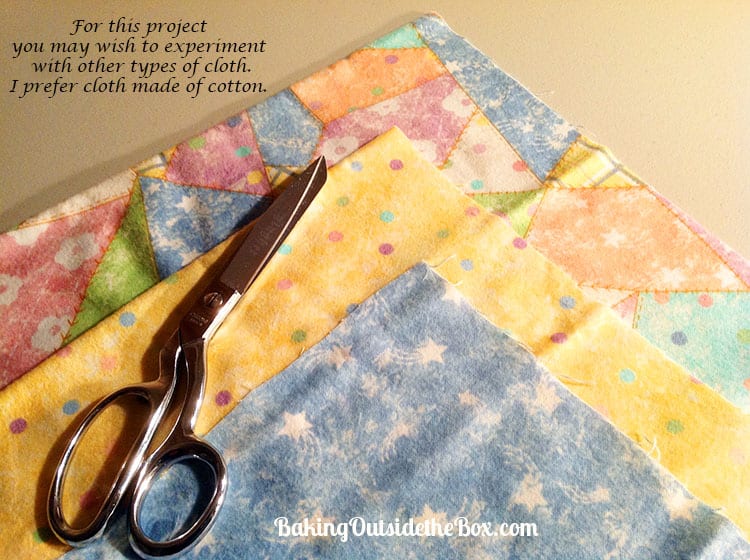
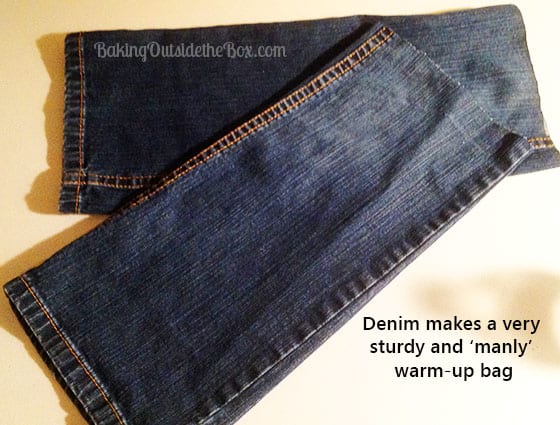
- 1 piece of 16 1/2″ x 18″ cotton cloth ie, quilting, flannel or denim
- thread
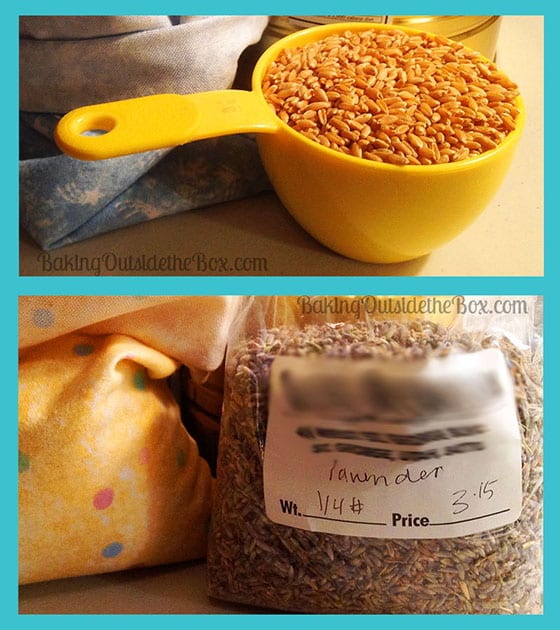
- 4 cups of dry wheat berries or rice or beans for filler**
- dried lavender (opt.)
- Instructions
- Cut cloth to 16 1/2″ x 18″ or desired size. (You can make it larger or smaller depending on its intended use. )
-
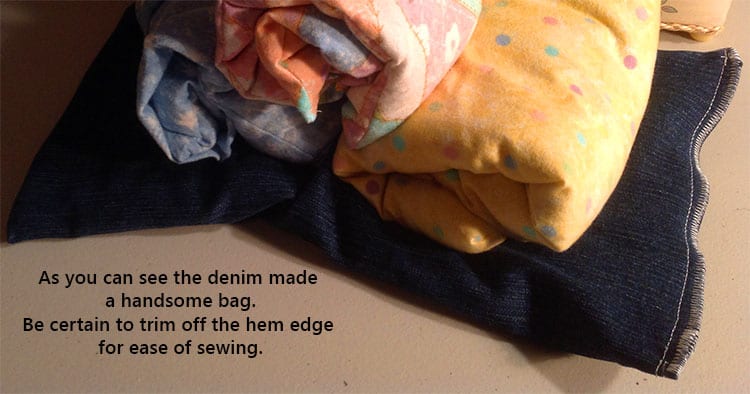
- Old denim jeans can make a thrifty, cute and sturdy bag.
- Fold cloth lengthwise wrong sides together.
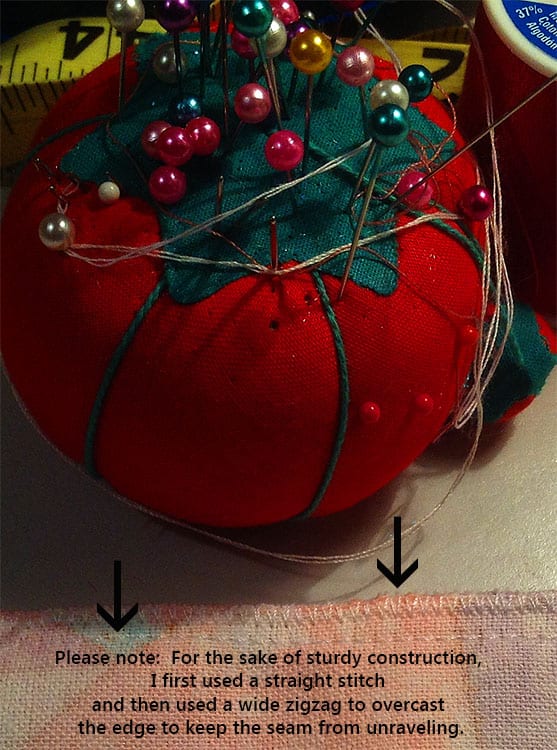
- Pin and sew the bottom and side seams using a 1/4″ seam. Double stitch or use an overcast stitch. Leave the top open for filling.
- Turn the bag right side out.
- Iron the bag. (I skipped this step.)
-
Fill the bag with 4 cups of your chosen filler. (I just happened to have a lot of wheat, but any of the above will work.)
- Tips/ Notes:
- 1.The bag will not be full and filler will flow freely inside bag.
- 2. For larger or smaller bags you will use more or less filler.
- 3. Do not use plastic beading for filler. They are not for use in the microwave!
-
Add 1-2 tablespoons of lavender, if using.
- To finish the bag: Keep the filler in the bottom of the bag and well away from the area of the machine needle.
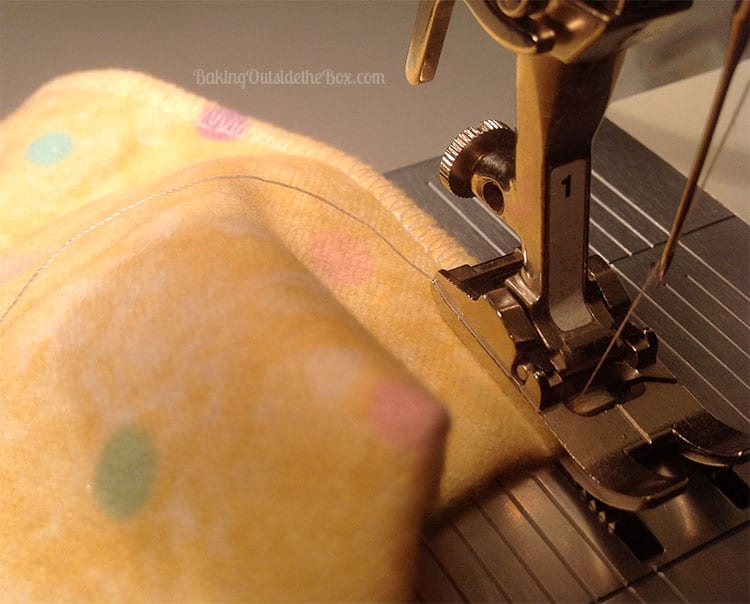
- Turn the raw edges at the top in 1/4″ and double stitch or overcast as before. Your bag is complete.
- To use: Warm-up your bag in the microwave in 30 second increments for no more than 1 1/2 minutes. (You must use caution and experiment a bit here as all microwaves warm differently and you wouldn’t want to burn the filler in your bag (stinky!!! btdt 🙂 ) or make it too hot and too dangerous to handle!!!!) It should be warmly pleasant to the touch.