
I’ve wanted to try making my own DIY Christmas Treat Boxes for a long time.
I’ve seen the pictures of ‘plate boxes’ floating around Pinterest, but I wanted to add a twist. All of the pictures I saw were made of very thin paper plates and folded with the top of the plate inward. This doesn’t really matter with all-white plates, but I wanted to use something a with a cute print on it and fold it print-side out and maybe add a little decoration. Today I’m sharing what I did with you.
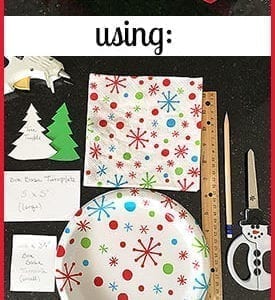
Here are the items you will need to make DIY Christmas Treat Boxes:
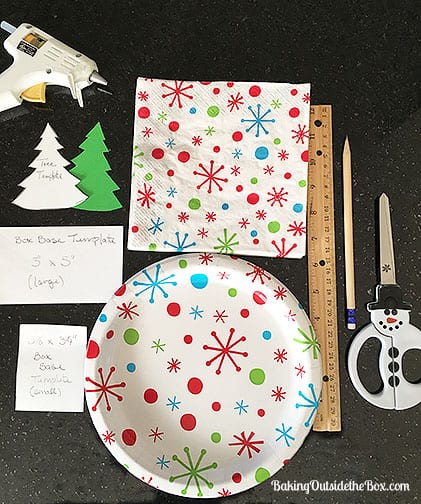
- Glue gun (or craft glue if you are more patient than I am.)
- Christmas tree template. (Click here and then left click on the image to print it out.)
- Green or Red cardstock paper for tree decoration.
- 1- 3″ x 5″ card to use as the template for the base of the larger box.
- 1- 2 1/2″ x 3 1/4″ template for the base of the smaller box. (I cut it from an index card.)
- 8 1/2″ -9″ decorative plates.
- Matching decorative napkins.
- A ruler.
- A pencil.
- Scissors.
The above items are for the basic box. If you wish to add some embellishments you can use the following items:
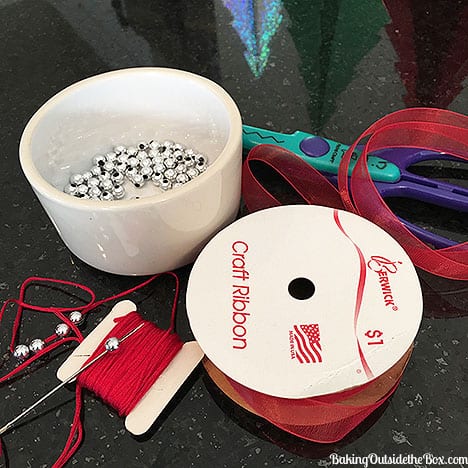
Optional Items:
- 18″ 6 strand Embroidery floss per box.
- 1 large darning or embroidery needle
- 5 beads per tree (sorry I don’t know the size, they were in my craft supplies.)
- 24″ craft ribbon per box as desired.
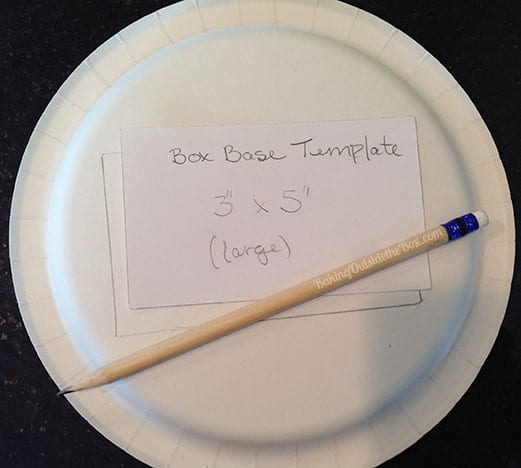
Choose which size box you wish to make and center the template for the base on the back of the plate and trace around it.
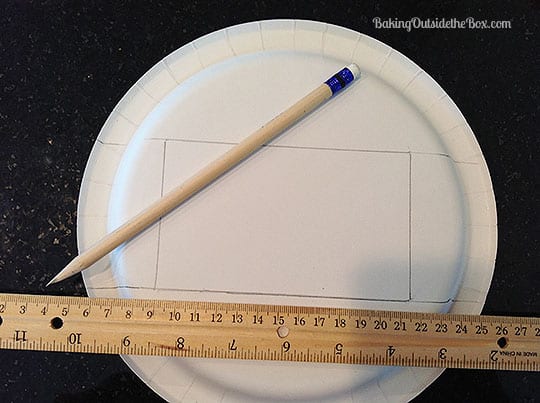
Using a ruler lengthen the long lines on both sides of the traced rectangle to the plate edges.
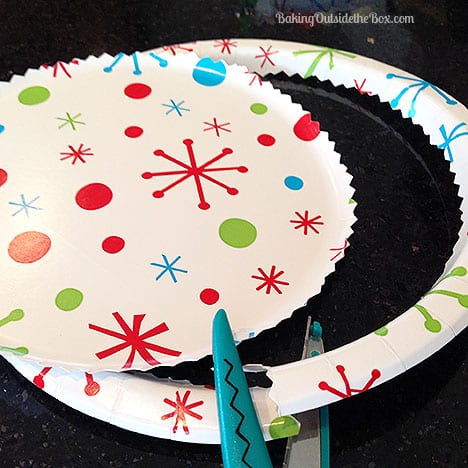
Trim the rim from the plate if it is deep, as pictured. Use decorative scissors if you wish. (If it is shallow, almost flat, you can skip this step.)
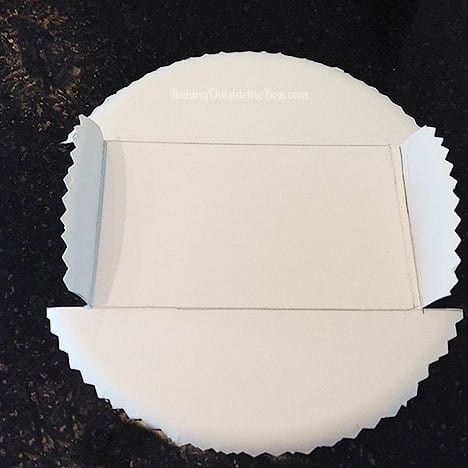
Using regular scissors cut along the lines on the back of the plate just to each of the corners, as pictured. Fold up the side flaps, as pictured.
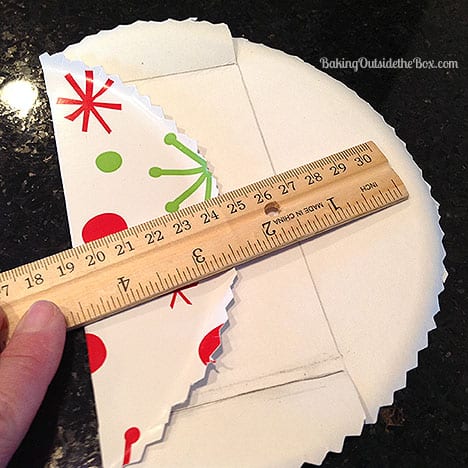
Fold front and back along lines as pictured. I then used gentle pressure and slid a ruler across the fold lines to smooth and sharpen the fold lines.
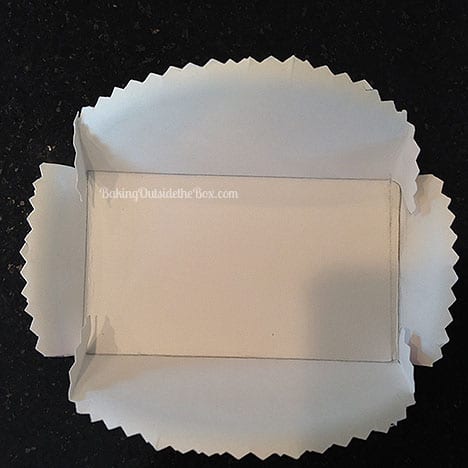
Fold the ‘tabs’ at each corner to the inside as shown and glue them to the sides using a glue gun or graft glue.

Fit Napkin or tissue paper into the box as shown, folding down the front point of the napkin at the front of the box. You can use the box as is or add a decorative touch like the ones below:
optional finish #1
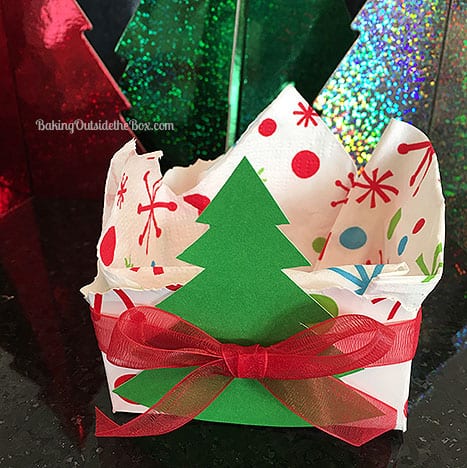
Cut out a tree using the template and glue it to the front of the box. Wrap a 24 inch piece of ribbon around the box and tie it in a bow. The small box is pictured above.
Optional finish#2:
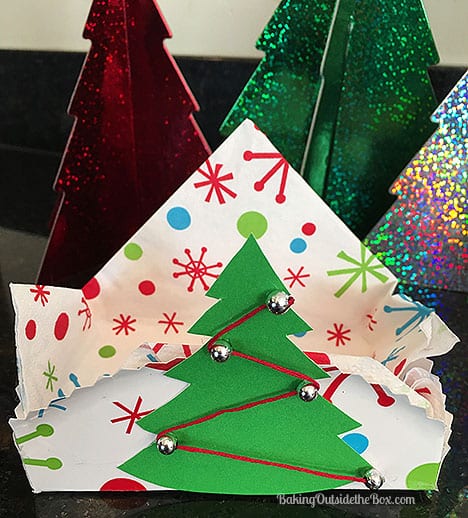
- For the tree with beads, you will need to glue 4 beads as shown to a tree decoration, making certain that the holes in the beads are horizontal.
- Thread a large needle with eighteen inches of embroidery floss and knot the end. Start at the bottom and slide the needle through the bead pulling the thread through just until the knot is inside the first bead.
- At this point, add a tiny dab of glue inside the bead and allow to dry. (This is fast with a glue gun.)
- When the first bead is dry, continue threading the beads to the top and then trim thread leaving a 1″ tail and holding it to the back, add a another small bit of glue to the tail to hold it in place.

Your Christmas Treat Boxes are now ready to fill with treats for school, work, parties or neighbor gifts. Merry Christmas! -Laura
