Turn pants into capris? Yes!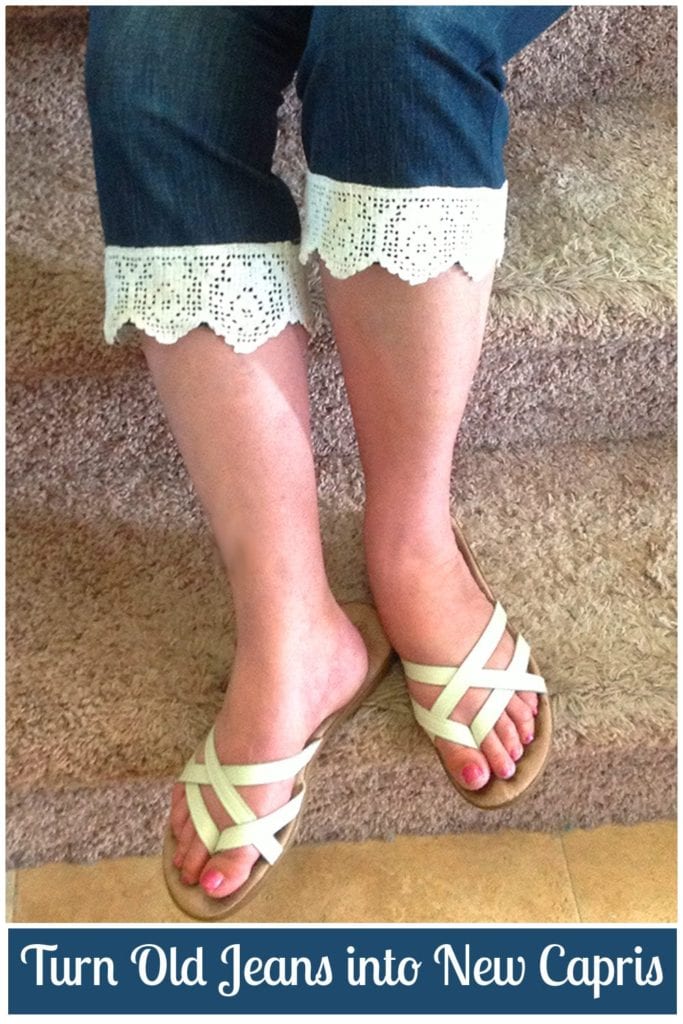
I’d recently figured out how to get latex paint off my old jeans. After treating them I tossed them in the washer. When I grabbed the salvaged jeans out of the dryer I got excited because I could give them a new life and get one more summer out them.
(If you want to know how I got old, dry latex paint out of my jeans, read this.)
It was a mercurial spring and the morning temperatures still dipped below fifty – not quite shorts weather. But it is most certainly perfect for capris. I’ve been wishing for some cute, denim capris and I decided to tackle a small remodeling job to make my wish come true. (I hoped.) In the end it was easier than I thought it would be.
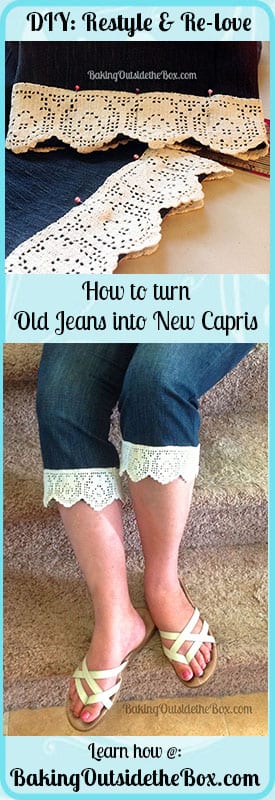
DIY: New Capris from Old Jeans
This pants remodel works equally well on any size pants. Great for little girls and big girls too.
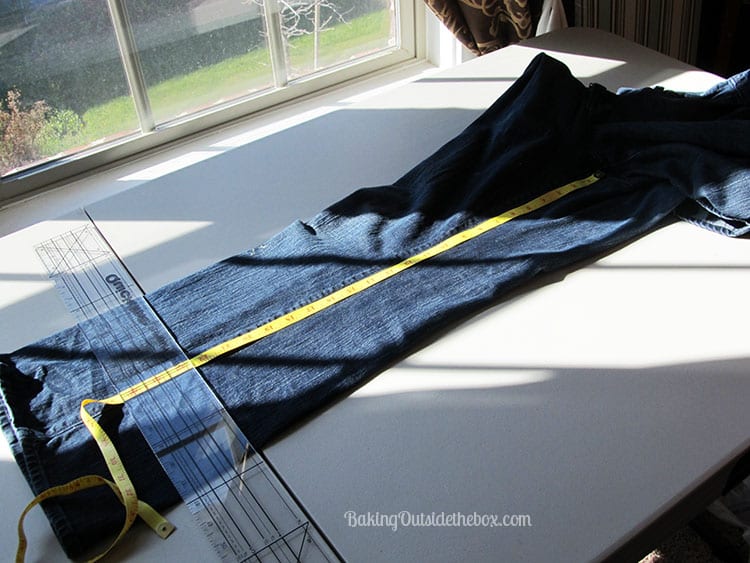
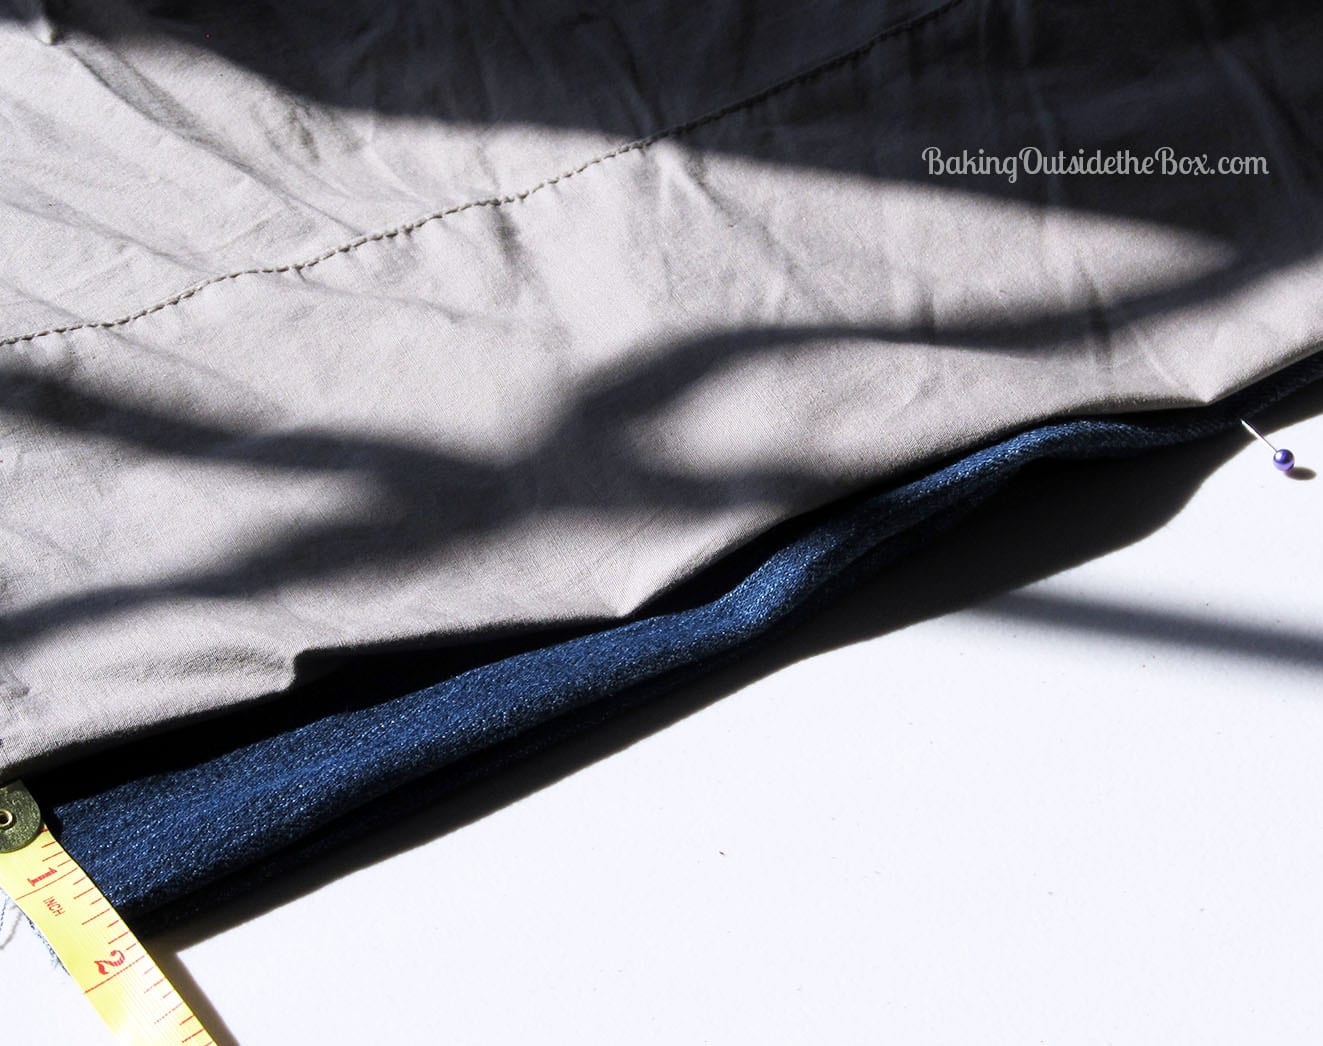
1. This first thing I did was to measure the inseam of my old worn out capris and then I used that measurement to mark the finished length on my jeans. (I used a white tailor’s pencil to mark the pants.)
Note: If you have no old capris to measure against, 4-6 inches below the knee is typical. (Measure from the bottom of the knee.)
2. I then added an inch for the hem allowance and marked that length on the jeans. (See note about hems below #5 for more options before cutting pant legs.)
I made the line across the width of the leg to use as a cutting line guide. I then cut off the marked pant leg and then used the cut leg as a guide to cut the second. Easy.
Note: If the pants you are remodeling are a slim style you may be able to skip steps three and four.
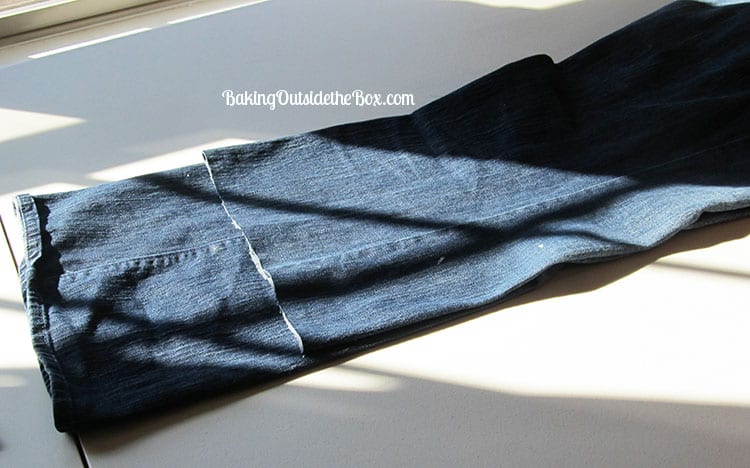
3. Turn the jeans inside out. Lay the capris on top of the jeans to measure the width of the old capri pants leg against the width of the jeans. I marked the jeans with a pin on the outer seam of the leg. As you can see, I ended up making about a long, narrow to wide line and took out a total of almost 3 inches per leg. (I started at the pin and gradually increased the width of the seam with the line of the capris. And yes, I used a ruler and drew the line right on the pants. It’s just easier and the tailor’s white pencil washes out.
Note: No capris to measure with? If the pants you are re-styling are too roomy above the knee you will want to begin probably about mid-thigh to take in the pants. (But you will have to decide how they should fit.) Measure the widest part of your calf and add 2-3 inches for ease of movement. This is the width-at-hem measurement of your pants. Mark it with your pencil on both legs.
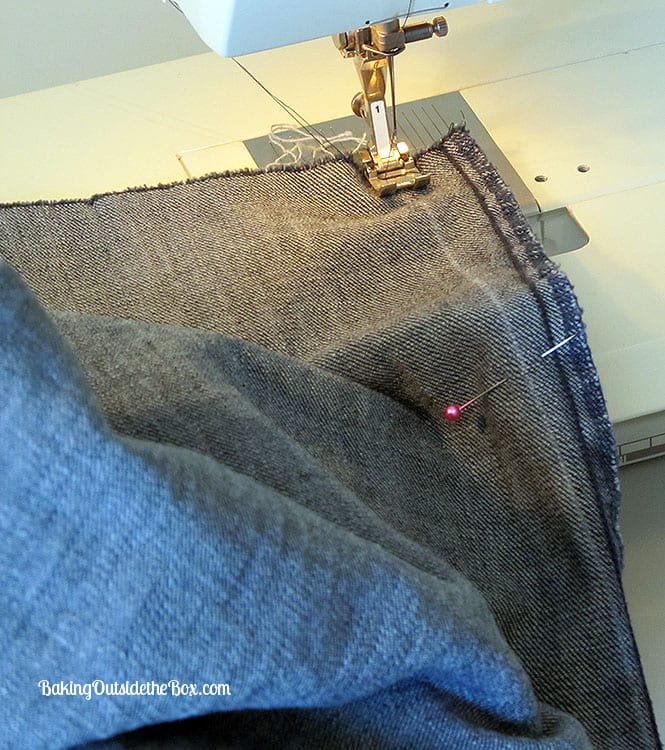
4. Now if you are very fussy you may wish to divide the amounts you are going to take in the pants between both the inner and outer seam of each leg. However I just took it off the outside seam and it worked fine for me. I sewed along my narrow to wide seam and then trimmed it to ¼” and then used a wide zigzag on the raw seams on each leg to keep raveling to a minimum.

5. To hem: Turning pants inside out, I chose to finish off the hem edges of each leg with a wide zigzag and turned up pants leg 1 inch and pressed it in place and then single-stitched just below the zigzag and then repeated the stitching 1/8” below the first stitching.
Note Hem Variations:
The double stitching looked very nice and will take wear quite well. It could have been repeated at the bottom for a more polished look.
Casing: You can use the hem as a casing for a ribbon at the outside seam on each leg. To do this, mark and leave a ½” gap just above the hem allowance when making the seam in step #4. (Backstitch at both edges of the gap to reinforce. Then use a large safety pin to thread ribbon which is 8-10 inches longer than the circumference of the casing. Or, in other words just wrap the ribbon around the leg and add 8-10 inches. Cut two.
Half Inch Double up: Fold the raw edge up ½” (I make this easy by machine basting ½” from raw edge) and fold it over again. Straight stitch close to folded edge of hem.
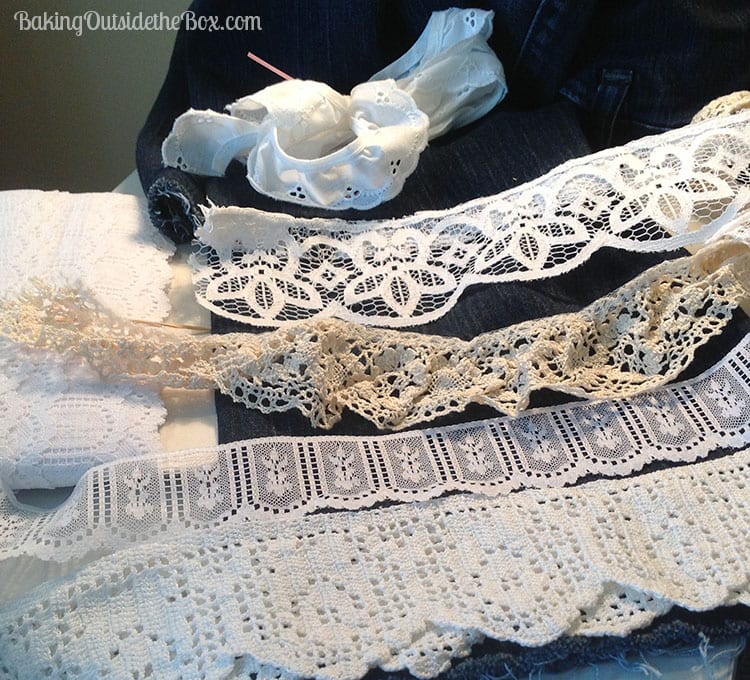
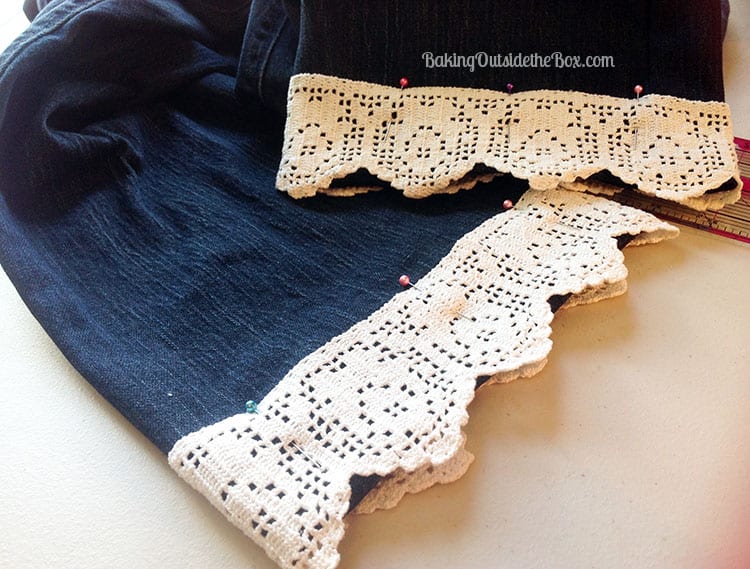
6. Trimming: (Optional) I decided as I sewed to add some lace to the hems of the capris and dragged out all the different laces I had that I thought were candidates. I covered the hem line with a wide lace, though narrow lace or ribbon could be attached at the leg bottoms as well. Simply measuring the lace around the leg openings, I added a ½ inch for a ¼ inch seam allowance. Using thread to match the lace, I sewed the lace ends together (wrong side out, of course) and (you guessed it) zigzagged the raw edge of the seam. Then I turned the lace right side out and attached it using a straight stitch, covering the hemline, but leaving enough to hang down below the pants length a bit. Perfect.
Confession: The gorgeous piece of lace I ended up using was a piece I’d picked up at a street fair in Wisconsin years ago. I was told at the time it was an antique piece that had been crocheted to edge a pillowcase. It was inexpensive. I’d been saving it for something special. I decided now was the time to use it. Funny thing, it was exactly the right length to cover both legs. Kismet.
I’ve absolutely loved wearing these lacy capris and now that I’ve written up the instructions, it will certainly make restyling more old pants into capris a breeze and I hope it will be helpful to you too. — Laura
When I apply lace for a edge trim . I lay the lace right side down on the edge sew it in place and turn it outside and sew again. I hope you can understand my directions .
Thanks, Judy!
Very cute capri’s. The right lace makes the pants.